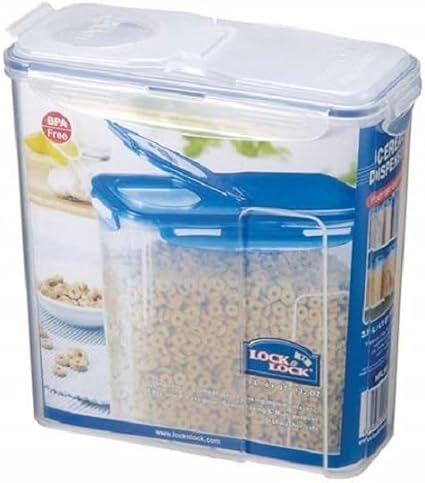
FLOUR & Other Dry Storage: My “system” currently uses some “lock tight” Containers intended for Cereal, but that hold a 5 lb bag of Flour. This started when I was still able to manage the Fresh Milled Flour process so I could break up the steps that allowed me to fit it into my version(s) of 10-20-30 minutes bits as my work and family time allowed.
To see the closest match I could find, this is an affiliate link, but it is used for illustration in this case. I bought mine from ALDI years ago and you may also find them locally at a better price, https://amzn.to/4v5J79R
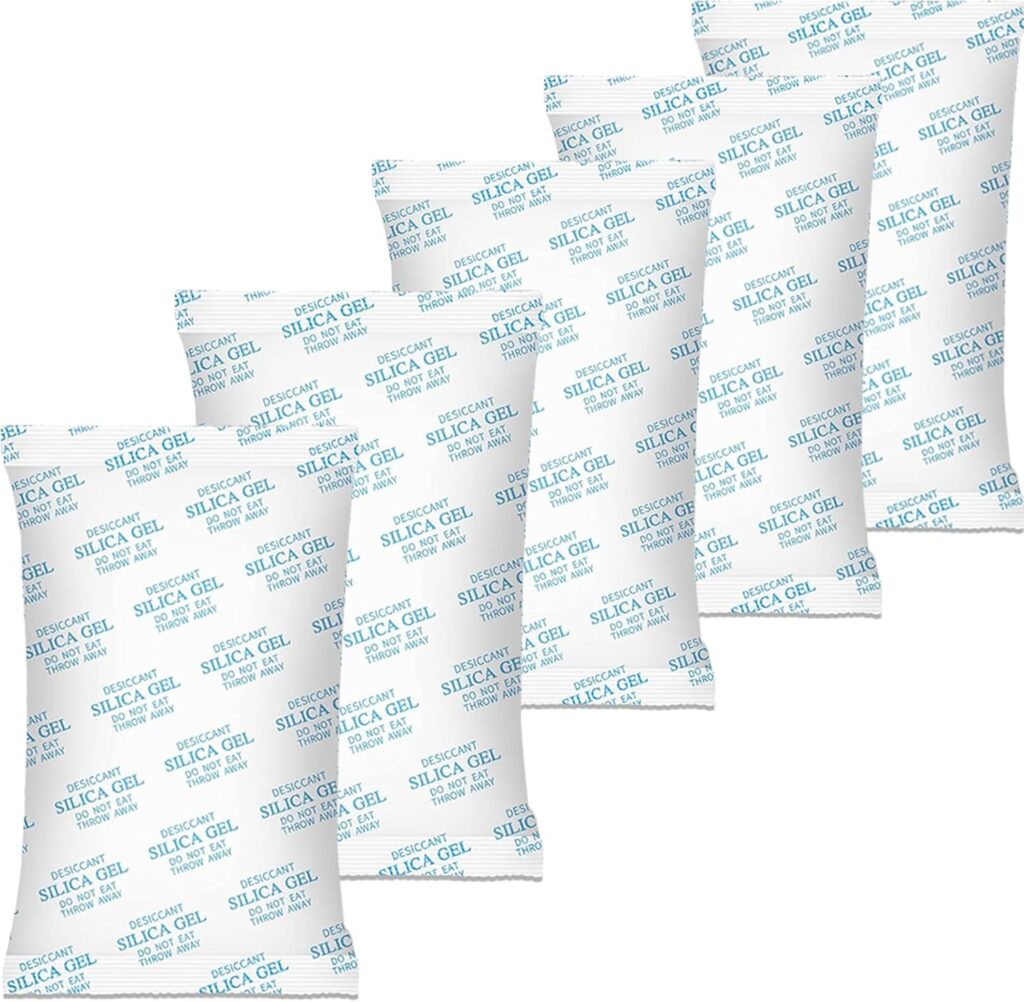
Humidity & Moisture Control: Every few years I buy a 10 or so pack of 50 gram Moisture Absorbers. When you live an area subject to humidity and other weather related issues, and your apartment is only 700 square feet, ideal storage is NOT Always available. I also keep & use reuse a supplie of 5g, 10g, and 20g for use the dry herbs & spices I buy in bulk – small for the “daily use” bottles and the larger as needed for the “back up storage” And, yes, in those 1 lb bags of dry yeast too. ncidentally EVERY Dry Ingredient and the mixes I make up in advance all are stored in air tight containers with Moisture absorbers.
I leave Flour, sugar, rice in their bag, put the bag, place it into the the Air Tight containers along with appropriately sized Moisture Absorbers. This habit means I pretty much never has to worry about humidity. Since barometric pressure is out side my control, I don’t bake on “weather headache” days. Combining air tight containers with moisture absorbers and a dedicated selected size dry measure
o see the closest match I could find, this is an affiliate link, but it is used for illustration in this case. https://amzn.to/4bLoWqe
Last but not least, each container has a “dedicated” dry measure cup in the size most often needed. the exception is flours used in breads. those has two, a one (1) cup & a half (1/2) cup. Vital Wheat gluten has a eighth (1/8) cup. These stay in that container so ALL measuring from that ingredient is consistent.
Bulk yeast has the spoon that came with the KBS/Keepeez bread machine. Again, consistent measuring.
This also means less cleanup most of the time. Measure the dry ingredient into a pan or bowl, and back into the container for next time.
Bread Tech: Swirling Inclusions – Draft in Progress.
This is a draft and your comments and suggestions (good, bad, or indifferent) are very much welcomed.
It does, for illustrative purposes, contain affiliate links.
When your first (and by my choice current) bread machine does not have a “dispersal unit” becoming competent with creating swirl bread techniques is a useful skill.
The simple steps are: at the end of the last mix/knead cycle, AND BEFORE The FINAL Fermentation/Rise… Pause or “Unplug” your bread machine as needed.
1. Remove the dough from you machine and CLOSE THE LID to help with heat retention.
2. The simplest swirl technique is to the then roll out the dough to a long narrow strip on either a large sheet of parchment or a floured board. I prefer paper as it helps with the roll up step.
3. Once the dough is 3/8 to 1/2 inch or as close as you can manage without tearing, take a moment to try to make your edges even thinner.
4. Lightly brush the edges with just about any liquid.
5. Spread your filling to within about 1/2 inch of the entire surface
6. Roll as tightly as possible. I use a sort of “jelly roll technique” (needs illustration)
7. Tuck the edges and shape to the width (long edge) of your pan. – Usually between about 5 inches for Tall Pans and 6-7 for horizontal bread machine pans or whatever size you are using “outside the box” to bake in your oven. -To complete the loaf in your machine – Return to bread pan,
8 Inside the box/machine… Restart/Unpause/Plug back in: for final rise/fermentation and bake.
A slightly more complex, but often useful is to create multi layers.
at the end of the last mix/knead cycle, AND BEFORE The FINAL Fermentation/Rise… Pause or “Unplug” your bread machine as needed.
1. Remove the dough from you machine and CLOSE THE LID to help with heat retention.
2. Divide dough roughly 60/40.
3, Roll out smaller keeping it maybe only 4 inch wide on a floured surface.
4. Rollout the larger quantity of dough on a floured surface to about 5-6 inches width and longer than the strip you prepare fro the small portion of dough. *see note
5. When both are rolled out, spread filling on larger piece leaving a SMALL margin.
6. (needs illustration) using the same sort of methods you would to transfer pie dough to a pan, place the smaller sheet, floured side down, on top of filled lower sheet and gently laminate.
7. Add filling “Edge to Edge” onto the laminated smaller sheet.
8. Brush the margin with any liquid of your choice, butter, milk, even water
9. Roll doubled sheet as tightly as possible, folding the dampened edges so loaf fits into bread pan.
Note: 1. Once both sheets are rolled out and BEFORE spreading filling, it is helpful to taper the edges. The thinner margin seals the ends without a huge space with no filling. 2. I usually roll out the larger portion on a sheet of parchment paper that has been floured. The paper is helpful in the rolling process (in my opinion, YMMV)
It is no secret that I believe both of the first two steps in trouble shooting are related to hydration. Autolysing is just one method of helping you attain proper hydration in all your bread dough’s not just sourdough.
In addition, many of those experienced in the use of Fresh Milled Flour (FMF) often recommend the use of the Autolyse technique but it is useful to all machine baking.
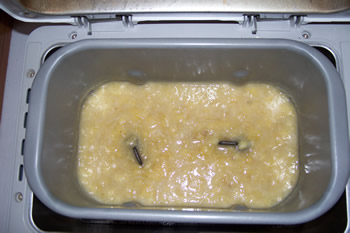
By using the Raw Dough menu to Autolyse in your KBS/Keepeez (and likely other brands): note: for those who prefer to proof yeast before adding – this concept gets you there.
Here is what I do (YMMV – your results may vary) and one of the few times I even consider using delayed start subject for another time Remove your pan and add ONLY your liquids and flour(s). Replace/Secure pan in your KBS/Keepeez, Select Menu Raw Dough, Press Start Just as you would/should any other time, use that first stir to check if your hyrdration looks rigth. if you get called away, you may get another chance later but now is better.
Basically the process of Autolysing is mixing your liquid and flour and letting it sit for as little as 20 minutes and depending on whose information you trust, as much as an hour or longer.
The KBS\Keepez current (Feb-2026) models whose Model numbers begin with MBF-### have a menu operation known as “Raw Dough“. At approximately 23 minutes mixing and sitting, this functions well as an means to Autolyse not exactly, but close enough to be useful.
Once the Raw Dough menu has been completed, you can choose (or in my case remember to go deal with the next step because I was off reading cookbooks or some such) another menu, add your other ingredients as directed in your recipe
In my case, this means adding other ingredients (sugar, salt, yeast) and going to take a nap.
If you would like more general details about the Autolyse technique, here are some links to respected sources familiar to most Bread Machine Bakers. Linked articles they may contain affiliate links that do NOT benefit me –
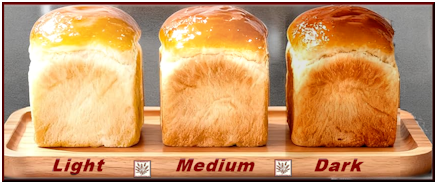
In response to a question about how to get a darker top crust, in 2026/Jan/04 John DeFields wrote: (Thanks to John for permission to share )
“I’m not sure what model you have, but if it has a fruit/nut dispenser remove it unless you need it for a recipe. This allows for better air circulation at the top of the loaf.”
Note: Sample Loaves were egg-washed to enhance appearance